As an Amazon Associate I earn from qualifying purchases and sometimes recommend products from other sellers at no extra cost to you. For more details see my disclosure policy and privacy policy.

Hey there, fellow baking buddies! Ever had one of those days when you’re trying to whip up some chocolate chip cookies and they just… flop? Yeah, me too. It’s like you need a magic wand to get that perfect chewy center and crispy edge. But guess what? You don’t need to be a wizard—baking basics and techniques are your real-life cheat codes to sweet success!
Now, I know some of y’all might be thinking, “I just follow the recipe, what could go wrong?” Ah, my friend, let me tell you, baking is a quirky mix of art and science. You’ve got your flour, eggs, sugar, and butter, right? Well, they’re more than just ingredients; they’re the pillars of the baking kingdom! Each one has a special job that makes your treats go from “meh” to “wow!” And, if you’re like me, sometimes you learn the hard way that a cup of flour can be a sneaky little thing—too much or too little, and your cake’s either a rock or a puddle.
So, as we gear up to chat about the must-have tools and gadgets that can take your baking game from zero to hero, remember this: the right whisk can save your arm from falling off mid-stir, and a trusty oven thermometer can be your best pal when the oven’s up to its old tricks again. We’re on a mission to make sure our baking adventures end with a round of high fives and not puzzled frowns. Ready to grab your spatula and ride into the sunset of baking brilliance? Let’s get this dough on the road!
Essential Baking Tools and Equipment

Hey there, baking buddies! Picture yourself in the kitchen, apron on, ready to whip up something scrumptious. But wait! Before we start tossing flour and sugar around, we gotta chat about the superheroes of the baking world – the tools and equipment. Trust me, having the right gadgets can make the difference between a baking triumph and a “whoopsie daisy!”
Choosing the Right Bakeware
Let’s talk shop about bakeware, the trusty sidekick for any baker. You know how some superheroes have different powers? Well, bakeware’s like that too. Take materials, for instance. Aluminum pans are awesome for even heating, while glass dishes are super for seeing your food bake without having to open the oven door all the time.
And size? It’s not just a number, folks. It’s the difference between a perfectly puffed-up cake and one that’s spilling over the edges like a lava flow. Keep in mind, a 9-inch round pan won’t work the same as an 8-inch – that one inch can be a big deal in baking land.
Oh, and don’t get me started on keeping your pans in tip-top shape. A little love goes a long way – hand wash those babies and dry ’em well to prevent rust and yucky stuff.
Must-Have Baking Utensils
Now onto the trusty tools that stir the ship – spatulas, whisks, and the unsung hero: measuring tools. Ever tried to eyeball a cup of flour? Not fun, my friends. A good set of measuring cups and spoons is like having a map in the wild – it guides you to where you need to be.
And let’s give a shout-out to the kitchen scale. This little guy is the secret to nailing those tricky recipes that call for grams. It’s like having a baking GPS – it’ll get you to Yumsville without any detours.
Tools that do double duty? Yes, please! A silicone spatula that mixes and scrapes? That’s like having a Swiss Army knife in your baking belt.
Advanced Baking Gadgets
For those bakers ready to level up, we’ve got the gizmos that’ll make you feel like a wizard. Mixers, processors, and fancy ovens – oh my! These aren’t just flashy toys; they’re what turn “pretty good” into “mind-blowingly amazing.”
Thinking about splurging on a stand mixer? It’s like having an extra set of hands. And if you’re getting serious about your sourdough or pastry, a good oven can be as important as the recipe itself.
High-tech gadgets might seem like overkill, but they’re all about consistency. Imagine every batch of cookies coming out just right – that’s the dream, right?
So, there you have it! A peek into the toolbox of a baking superhero. With the right gear, you’re on your way to making some serious magic in the kitchen. And remember, it’s not just about having the fanciest stuff – it’s about knowing how to use it to make your baking adventures epic.
Speaking of adventures, aren’t you curious about how all these tools and techniques come together to create something delicious? It’s like following a treasure map to the most scrumptious treasure chest. So, grab your whisk and your favorite spatula – it’s time to get our bake on and create some masterpieces!
Mastering Baking Techniques

Hey there, fellow bakers! Are you ready to whip up some magic in the kitchen? Let’s chat about some cool baking basics and techniques that’ll have you baking like a pro. Trust me, once you get these down, you’re gonna be the star of every bake sale, potluck, and family gathering!
The Creaming Method
So, you’ve probably heard about the creaming method, right? It’s like the secret handshake for making cookies and cakes that are super fluffy and light. Let’s break it down.
First off, grab your butter and sugar. The butter’s gotta be just right—not too hard, not too soft. Think of it like Goldilocks; it should be just soft enough to squish but still hold its shape. Now, beat those two together until they’re all nice and cozy—creamy with a hint of fluff. This step is like the warm-up before the big game—it gets everything ready to perform its best.
But hey, don’t rush it. I’ve seen many bakers go full speed ahead, and their butter and sugar end up looking like a lumpy mess. Remember, good things take time. You want to see it all smooth and pale, like a winter morning.
The Art of Folding Ingredients
Alright, moving on to the art of folding. This isn’t like folding your laundry; it’s way more fun, and you end up with something delicious at the end. Folding’s all about bringing new ingredients to the party without knocking out the air you worked so hard to invite. That air is what makes your cakes rise and gives them that dreamy texture.
Now, the tool of choice here is usually a spatula. You gotta be gentle—like you’re turning the pages of a precious book. Slide it under, lift it over, and turn. Keep it going until everything’s just mixed. It’s kinda like when you’re mixing colors of clay but you don’t want them to completely blend, you know?
And hey, if you’re folding in something like chocolate chips, you don’t want them all to sink to the bottom, right? So, coat them in a bit of flour first. It’s like giving them little life jackets to float in your batter.
Precision in Measuring and Scaling
Now let’s talk about measuring and scaling. Baking’s a bit like science; you need to get your measurements spot on for that perfect chemical reaction to happen. A little too much flour or sugar can totally change the game.
Here’s a pro tip: when you’re measuring dry stuff like flour, spoon it into your measuring cup and level it off with a straight edge. No scooping directly from the bag—you might pack it in too tight, and that’s a no-no.
But what about liquids? Well, for those, you want to use a clear measuring cup and get down at eye level to make sure you’ve got it just right. And hey, sometimes you’ll see recipes that use weight instead of volume. If you’ve got a kitchen scale, that’s like striking gold. It’s way more accurate, and you’ll feel like a baking scientist in no time.
So, there you have it, friends—some handy dandy baking basics to get you started. Remember, practice makes perfect. Don’t be scared to mess up a few times. That’s how you learn! Just keep at it, and before you know it, you’ll be mixing, folding, and measuring like a champ. And speaking of champs, once you’ve got these techniques down, you’ll be able to tackle some really awesome recipes that use all kinds of ingredients. Things like spices that warm you up or zesty citrus that makes your taste buds dance. But hey, that’s a story for another time.
If you want to dive deeper into the world of baking, you’ve got to check out some of these amazing resources I’ve stumbled upon. They’re like the secret maps to treasure troves of baking knowledge. Here’s one that I swear by: Baking Basics and Techniques for Beginners. It’s got everything you need to start your baking adventure.
And if you’re itching to put your new skills to the test, why not give the Chocolate Peanut Butter Zucchini Bread a whirl? It’s a killer combo of flavors and a great way to sneak in some veggies.
Now, aren’t you excited to roll up your sleeves and start baking? The world of sweet and savory treats is waiting for you!
Key Baking Ingredients and Their Functions

Let’s chat a bit about the heroes of the baking world – the ingredients. Ever wondered why some cakes are as fluffy as clouds and why cookies can be chewy or crunchy? It’s all thanks to the magical mix of ingredients. Let me tell you, it’s not just about throwing stuff into a bowl and hoping for the best. Each ingredient has a superpower that changes how our treats turn out.
Flour Fundamentals
Alright, kids, let’s start with flour – it’s like the foundation of a house. Without it, your cake would be as floppy as a wet noodle! Flour gives structure to baked goods, and there are so many kinds. There’s all-purpose flour, which is a jack-of-all-trades, and then specialty flours like cake flour that make your sponge cakes super soft.
And then there’s gluten, a stretchy protein that makes dough elastic. But hey, not everyone can hang with gluten, so there are options like almond or coconut flour for those with allergies or who just wanna try something different. It’s like picking different players for your soccer team; each one brings something unique to the game.
- All-purpose flour: Good for almost everything – like the utility player.
- Cake flour: Makes things light and airy.
- Bread flour: High in gluten, giving bread its chewy texture.
- Gluten-free flours: Great alternatives for folks with allergies.
Sweeteners in Baking
Now, onto sweeteners – and I’m not just talking about sugar. Sure, sugar makes things sweet, but it also adds moisture and color. Ever noticed how brown sugar gives a deeper flavor and color to cookies? That’s because it’s got molasses in it. Sweeteners are like the personality of the dessert – they can totally change the vibe!
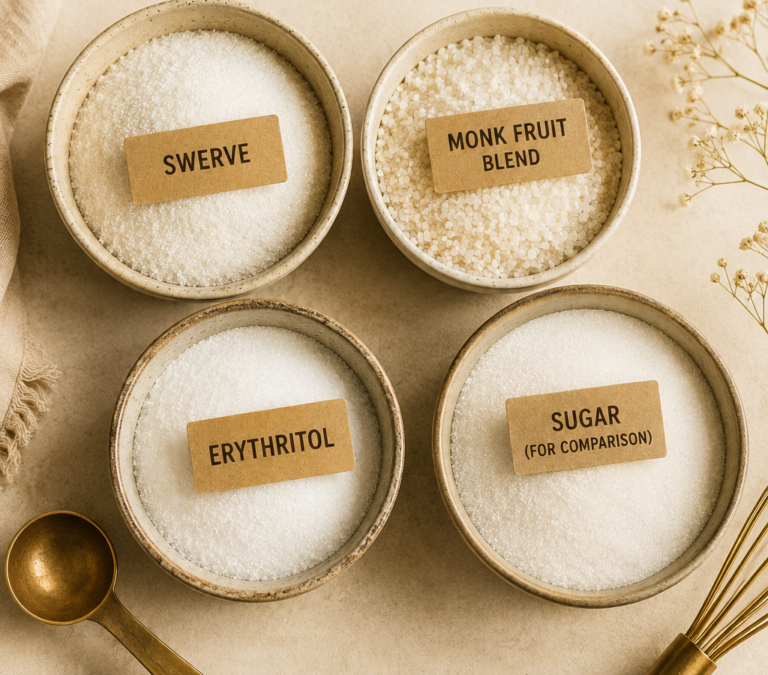
But hey, what if you’re trying to cut down on sugar? You can tweak recipes with honey, maple syrup, or even substitutes like stevia. Just remember, changing the sweetener can change the texture and taste, so it’s a bit of an adventure to find the balance.
- Granulated sugar: Your go-to sweetener.
- Brown sugar: Adds a caramel-like flavor and moisture.
- Honey: Natural and can add a distinct taste.
- Artificial sweeteners: Less sugar, different sweetness levels.
Fats and Leaveners
And let’s not forget about fats and leaveners. Butter, oil, and shortening are the slick operators that make sure your cakes are moist and your pastries flaky. But they’re all a little different, like choosing between sneakers, flip-flops, or boots – they change how you move through the world, or in this case, how your baked goods feel and taste.
Then there’s the magic of leaveners like baking soda and baking powder. These guys are the life of the party, making everything rise and become fluffy. It’s like when you add vinegar to baking soda and watch it fizz up in science class; in baking, that reaction creates air bubbles, giving you that perfect rise.
- Butter: Rich flavor, can be used in almost any baking recipe.
- Oil: Keeps things super moist, like in carrot cake.
- Baking powder: Double-acting, giving lift before and during baking.
- Baking soda: Needs an acid to activate, think buttermilk in pancakes.
And that’s the scoop on the key ingredients and their superpowers in baking. Remember, it’s all about balance and knowing what each one brings to the table. Now, if you’re itching to put these tips to the test, why not whip up something tasty? You could start with a simple recipe from Peacock Baking, like their Chocolate Peanut Butter Cookies. They’ve got a ton of recipes that’ll help you practice these baking basics and techniques.
So, go on and get your bake on! And who knows, maybe you’ll come up with your own secret ingredient that’ll make your treats the talk of the town. Keep experimenting, and you’ll be a baking wizard in no time! And remember, if you’ve got questions or wanna share your baking victories, just hit the “Contact” button up top and let the folks at Peacock Baking know. They’re always up for a chat about all things sweet and savory. Happy baking, friends!
Baking Recipes for Beginners
Hey there, budding bakers! Are you ready to whip up some magic in the kitchen? Well, grab your whisk and let’s get baking! When you’re starting out, you want to keep things sweet and simple, trust me. I remember the first time I tried to bake something—it was a batch of chocolate chip cookies, and guess what? I forgot the baking soda! They were flat as pancakes, but hey, it was a start, right? So, let’s chat about some easy-peasy recipes that’ll get you feeling like a baking boss in no time.
Simple Baking Recipes to Start With
Starting with straightforward recipes is like learning to ride a bike with training wheels—it gives you the confidence to keep rolling without worrying about taking a tumble. You want to look for recipes that don’t need a bunch of fancy ingredients or steps. Stuff like gooey brownies, fluffy pancakes, or even some scrumptious scones. They’re practically foolproof, and you’ll be munching on your homemade treats before you know it.
Speaking of easy recipes, you’ve got to try this Chocolate Peanut Butter Zucchini Bread from Peacock Baking. It’s like sneaking veggies into your dessert, and it’s ridiculously tasty! Just mix, pour, and bake—no mixer required. Plus, you get to tell everyone you’re eating your greens (wink, wink).

Intermediate Recipes to Hone Your Skills
Alright, once you’ve got the basics down, it’s time to level up a bit. Think of it like moving from coloring books to painting on canvas. Now you’re ready for the exciting stuff like layered cakes or even homemade pie crusts. And don’t worry, it’s not as scary as it sounds. A lot of it is just about being patient and following the steps. Pie crust, for example, is all about keeping your butter cold and not overworking the dough.
And hey, you gotta check out these Chocolate Peanut Butter Mousse Parfaits. They’re a little fancier, but oh-so-worth it. You’ll learn how to make a silky mousse and get creative with layering. The best part? You can show off your fancy new dessert to all your friends and family.
Challenging Bakes for the Aspiring Expert
Now, for those of you who’ve got your baking game face on and are ready for a real challenge, let’s talk bread making and fermentation. Yeah, it sounds all science-y and complicated, but it’s actually pretty cool. You’re basically making dough come to life! And when it comes out of the oven, all warm and fresh, you’ll feel like a true kitchen wizard.
Then there are those delicate little desserts like soufflés and macarons. They’re the kind of treats that’ll have everyone oohing and aahing. But remember, even the best bakers have flops sometimes. So if that soufflé sinks, just scoop it up, top it with some ice cream, and call it a “deconstructed masterpiece”!
So, are you feeling pumped to get baking? Great! Remember, every baker starts somewhere, and before you know it, you’ll be whipping up goodies that’ll make your taste buds do a happy dance. Now, go preheat that oven and let the baking adventure begin! And once you’ve got these basics under your belt, who knows what delicious creations you’ll come up with next. Maybe you’ll find yourself tackling those common baking challenges with clever solutions… But hey, that’s a story for another day. Happy baking, friends!
Common Baking Challenges and Solutions
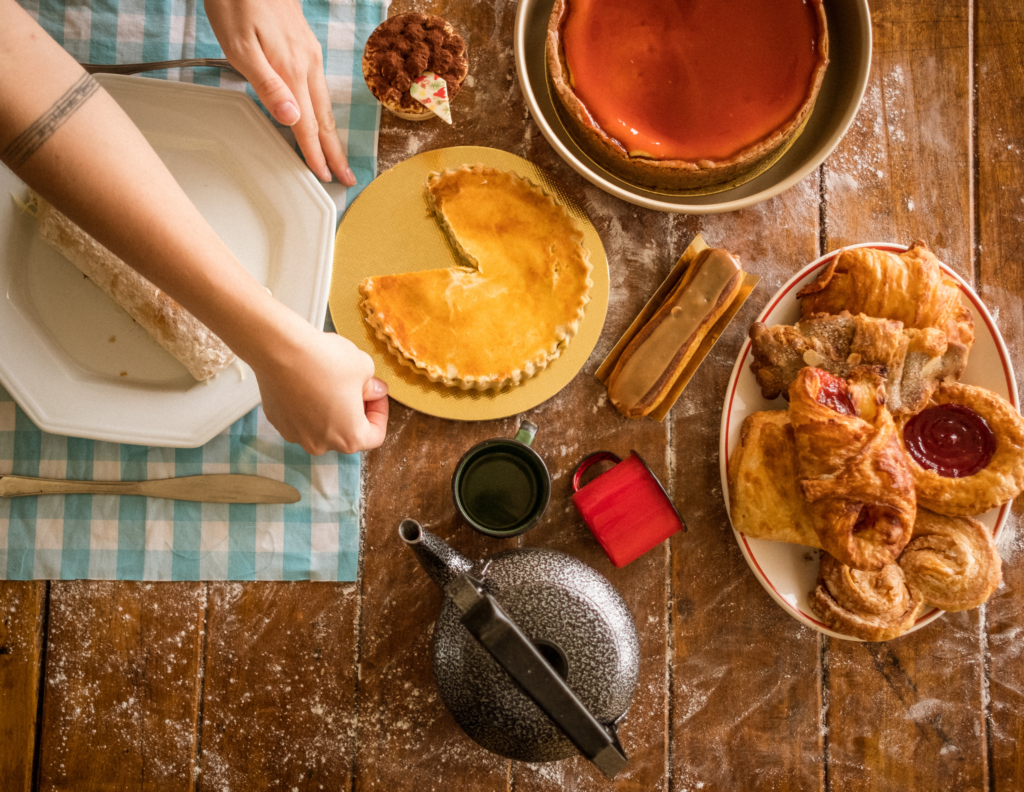
Alright, let’s talk about some common baking issues we’ve all faced, and dig into some tricks to fix ’em. You know, that moment when you open the oven, and instead of those fluffy cupcakes you were expecting, you get some sad, sunken little things staring back at you? Yep, we’ve all been there. But don’t worry, I’ve got your back!
Troubleshooting Baked Goods
We’ve all had those “oops” moments in baking, right? Sometimes, your cookies spread out too much, or your bread’s as heavy as a brick. Here’s the scoop on fixing those baking blunders. First off, if you’ve gone a bit wild with the mixing and ended up with overworked batter or dough, take a deep breath. For cookies, chilling the dough before baking can save the day. It relaxes the gluten and makes sure your cookies don’t spread out like a pancake.
Now, about those cakes or bread with a wonky texture – you know, when one side’s puffier than the other? That could be your oven playing tricks on you. Try rotating your pan halfway through baking. Oh, and if you’ve got an oven thermometer, use it! It’ll help you make sure your oven’s actually at the right temperature.
Baking at High Altitudes
Ok, so baking up in the mountains or any high place is a whole different ballgame. It’s like your recipes need to put on their superhero capes just to work right. You’ve got to tweak things a bit because the air is thinner up there. This means your leavening agents (baking soda and baking powder) go into overdrive, and liquids evaporate faster.
When you’re high up above sea level, cut back a little on your baking powder or soda, and maybe add a tad more liquid to balance things out. And crank up that oven temperature by about 15-25 degrees. It’ll help your baked goodies set before they get a chance to over-rise and flop.
Baking in Different Climates
Got a batch of cookies that turned into rocks overnight? Or maybe your pie crust got all sticky? The weather’s messing with you! Humidity can turn sugar into a sticky mess, and dry air can make your flour drier than a desert. If you’re dealing with damp air, keep things airtight. Store your sugar with a few marshmallows – they’ll keep it soft. And in dry places, a slice of bread in your cookie jar can keep your treats from turning into hockey pucks.
Remember, when the seasons change, your baking game might need to change a bit too. Summer’s heat can turn butter into a puddle, so keep it cool until you’re ready to use it. And in winter, give your eggs and butter a chance to warm up to room temperature before you start mixing.
Now, before we wrap this up, I’ve gotta tell ya, there’s a whole world of baking out there just waiting for you to add your own flair. Imagine taking these basics and spinning them into something that’s all you. You could be mixing up a storm with flavors and styles that no one’s ever tasted before. How cool would that be?
And if you’re itching for more baking adventures, check out this handy guide on baking basics. It’s got everything a newbie needs to start whipping up some magic in the kitchen. Plus, it’s chock-full of recipes that’ll let you put all these tips to good use. Happy baking, folks!
Advanced Baking: Developing Your Own Style

Hey there, baking buddies! You know, baking is kind of like magic. You mix a few simple ingredients, and poof! You’ve got something delicious. But once you’ve got the basics down, it’s time to jazz things up a bit. That’s what advanced baking is all about—finding your own style and making treats that are all you!
Experimenting with Flavors and Textures
So, you’ve mastered chocolate chip cookies and vanilla cupcakes. Great job! Now, let’s make those taste buds dance with some new flavors. Have you ever tried adding a dash of cinnamon or a sprinkle of cardamom to your cookie dough? It’s like a flavor party in your mouth!
- Incorporating exotic spices and flavors
Think about spices you’ve never used before. Have you heard of star anise? It’s got this cool, licorice-like taste that could totally rock in a batch of brownies. And don’t even get me started on mixing herbs into your desserts. Rosemary in shortbread? Yes, please! - Techniques for creating unique textures
Textures make eating fun. Imagine biting into a cookie with a surprise crunchy bit of toffee or a gooey marshmallow center. You can create these awesome textures by folding different ingredients into your batter. Try nuts, dried fruits, or even cereal for a little snap, crackle, and pop. - Balancing taste profiles in complex desserts
It’s all about balance, like a seesaw of sweet and salty, or tangy and rich. When you’re making a fancy dessert, think about how all the flavors will play together. A tart lemon glaze can cut through a super sweet cake like a ninja. It’s all about making every bite interesting!
Presentation and Decoration
So, your treats taste amazing, but we eat with our eyes first, right? Making your bakes look pretty is half the fun! And don’t worry, you don’t need to be an artist. A few simple tricks can make your desserts show-stoppers.
- Basics of cake decorating and plating
Let’s start with a smooth icing job. If you’re like me and get icing everywhere, try using an offset spatula for a neater finish. And when it comes to plating, a dusting of powdered sugar or a drizzle of sauce can make your dessert look fancy with minimal effort. - Using garnishes and edible decorations effectively
Garnishes are like accessories for your baked goods. A sprig of mint or a few fresh berries can dress up a dessert and make it look super professional. And edible flowers? They’re not just for fancy restaurants. You can find them at farmers’ markets and make your own garden of sweets. - Learning from professional bakers’ presentation styles
Ever scrolled through Instagram and seen those bakers with the perfect swirls and drips? They didn’t just wake up like that. They practiced, and you can too. Try copying a style you love, and soon, you’ll develop your own signature look that’ll have your friends oohing and ahhing.
Creating Original Recipes
You’ve got the flavors and the looks, now it’s time to get creative! Making your own recipes might sound scary, but it’s just like a science experiment that you can eat. Start with a basic recipe and tweak it little by little. Who knows, you might invent the next big thing in the baking world!
- Understanding the formula behind baking recipes
Baking is all about ratios. Once you know that cookies need so much butter, so much sugar, and so much flour, you can start to tweak things. What happens if you add more butter? Let’s find out! But remember, change one thing at a time so you know what works and what doesn’t. - Tips for modifying recipes to make them your own
Swap out ingredients, change the quantities, and play with baking times. Love coconut? Throw some into your next batch of chocolate chip cookies. Not a fan of super sweet? Cut down the sugar and see how it changes things. It’s your world, baker! - The process of testing and refining new creations
Alright, so not every experiment is going to be a winner. That’s okay! The best bakers make flops sometimes. The trick is to try again. Take notes on what you did, and tweak it until you’re happy with the result. And don’t forget to taste-test—bonus points if you can get your friends to help with that part!
As you whip up these new creations, you’re not just throwing ingredients in a bowl. You’re telling a story, your story. Each cake, each pastry is a chapter of your baking journey. And hey, if you’re looking for more tips or maybe a little inspiration to get those creative juices flowing, check out some baking basics and techniques over here. Trust me, it’s a goldmine of baking knowledge!
Alright, time to tie on that apron and get baking. Remember, the world of baking is your oyster—find those pearls of wisdom, mix ’em up with some sugar and spice, and create something that’s uniquely yours. And who knows, I might just be reading about your famous lemon-rosemary shortbread on Peacock Baking one day! 🍰✨
Conclusion: Embarking on Your Baking Journey
Alright, my baking buddies, let’s wrap this up with a nice little bow, just like you’d top off one of your scrumptious cupcakes. Getting a handle on the basics and techniques of baking is kinda like learning to tie your shoes. Once you’ve got it down, you’re set for life! And ya know, it’s totally okay to mess up a batch of cookies or have a cake come out looking like a pancake. That’s part of the fun! You’ve just gotta brush off the flour, laugh it off, and give it another whirl.
I want you to remember that Peacock Baking is more than just a website – we’re like your kitchen cheerleader, always here to root for you and sprinkle some extra sweetness on your baking adventures. So go ahead, get wild with those flavors, and if you ever feel stuck, just hit that Contact button up top. We can chat about everything from why your bread’s not rising to the best chocolate for your choco-chip cookies. And hey, if you’ve got a win to share (like your first-ever perfect pie crust), we’re all ears – or should I say, taste buds?
Key Takeaway
Let’s get those ovens preheated and those aprons on because it’s time to create some magic in the kitchen. Remember, Peacock Baking is always here to lend a helping hand or a bit of inspiration. So, don’t be shy, reach out if you need a baking pal, and keep spreading those peacock feathers with every delicious treat you whip up. Happy baking, everyone!
Frequently Asked Questions about Baking Basics and Techniques
What are the essential baking tools every beginner should have?
To start baking, you’ll need some basic tools: measuring cups and spoons, mixing bowls, a whisk, a spatula, a rolling pin, baking pans (like cake pans or cookie sheets), parchment paper or silicone baking mats, and an oven thermometer. As you advance in your skills, you might add items like a stand mixer, food processor, pastry cutter, and various specialized molds and pans.
How do I ensure my baked goods come out perfectly every time?
Consistency is key in baking. Always follow recipes precisely—measure ingredients accurately using the right tools (spoons for small amounts and scales for larger quantities), preheat your oven to the correct temperature before inserting your bake, use the specified pan size and type called for in the recipe. Also make sure to check for doneness using methods described in your recipe such as inserting a toothpick into cakes or pressing lightly on top of baked goods to see if they spring back.
Why is it important to preheat the oven before baking?
Preheating ensures that your oven reaches the temperature needed for proper cooking before you put your dish inside. If you place items into a cold oven, it can affect rising in baked goods like cakes or breads and lead to uneven cooking. It’s also crucial because most recipes assume that the starting temperature is consistent with what’s stated.
Can I substitute one type of flour for another?
Substituting flours isn’t always straightforward because different types have varying protein contents which affect gluten formation. For example, substituting all-purpose flour with whole wheat can make baked goods denser and heavier due to its higher protein content. If substitution is necessary due to dietary restrictions or preferences, look up specific guidelines – sometimes additional adjustments in liquids or leavening agents may be required.
What’s the difference between baking powder and baking soda?
Baking powder contains both an acid and a base which react together when moistened to create carbon dioxide bubbles that help dough rise. Baking soda requires an acidic ingredient present in the mix (like yogurt or lemon juice) to activate it. They are not interchangeable without making other adjustments to your recipe.
How do I get my cookies to spread just right?
Cookie spread can be controlled by several factors: The temperature of your dough (chilled dough spreads less), amount of fat (more fat generally means more spread), sugar type used (brown sugar tends to spread more than white due to its moisture content), as well as oven temperature (too hot can cause cookies to over-spread). Experiment with these variables if you’re not getting desired results.
Why did my cake sink in the middle after taking it out of the oven?
Cakes usually sink when they’re underbaked; there wasn’t enough structure built up during cooking so it collapses upon cooling. This could also happen if too much leavener was used causing it rise quickly but then deflate equally fast once removed from heat source. Make sure you’re following recipes closely regarding ingredient measurements and bake times.
Is sifting flour really necessary?
Sifting flour aerates it which helps produce lighter cakes and pastries; this step can also remove any lumps ensuring uniform consistency throughout your batter or dough. While some modern flours are pre-sifted making this step seem unnecessary at times; however many bakers still swear by sifting especially when precise texture outcomes are desired.
How long should I knead bread dough for optimal texture?
The length of kneading time varies depending on method used (by hand vs machine) but generally speaking 10-15 minutes until dough becomes smooth & elastic indicates sufficient gluten development which gives bread its chewy texture. Be careful not over-knead though as this could result tough bread.
What’s blind-baking and when should I use this technique?
Blind-baking refers pre-cooking pie crust without filling prevent soggy bottoms especially custard fruit pies where fillings cooked slower rate than crust itself would require longer overall cook time risking overcooking crust edges while waiting center set properly thus blind-bake creates crisp base ready accept wetter fillings afterwards.