
As an Amazon Associate I earn from qualifying purchases and sometimes recommend products from other sellers at no extra cost to you. For more details see my disclosure policy and privacy policy.
If you want one recipe that always gets a “you made these?” reaction, this is it. Chocolate covered pretzels are salty, crunchy, sweet and glossy all in one bite, and they come together with no oven, no thermometer and no fussy technique. Melt, dip, set, done.
A lot of chocolate dipping recipes get weighed down with talk of tempering, but you don’t need any of that here. This method is built so a first-time baker can get a smooth, snappy coating on the very first try, using either real chocolate or candy melts. Once you’ve got the basic technique down, these are brilliant for a gift bag, a party platter, or a tin for whenever you fancy something sweet-and-salty.
Why you’ll love this recipe
- No oven and no baking, just melting and dipping.
- No tempering required, so there’s no need for a thermometer or special skill.
- Endlessly customisable with sprinkles, sea salt, nuts or a drizzle.
- Keeps well, so it’s genuinely useful for gifting and parties.
- Ready in under an hour, most of which is hands-off setting time.
Chocolate Covered Pretzels Recipe
Prep time: 15 minutes Cook time (melting): 10 minutes Setting time: 20-30 minutes Total time: about 45-55 minutes Yield: approximately 24 dipped pretzels
Equipment
- Microwave-safe bowl, or a double boiler if you’d rather melt on the hob
- Baking tray lined with parchment or greaseproof paper
- Fork or dipping tool
- Wire rack (optional, for extra airflow while setting)
Ingredients
- 24 pretzel twists or rods (choose sturdy, thicker pretzels, as thin ones can snap while dipping)
- 200g good-quality chocolate, chopped, or candy melts (dark, milk or white all work)
- 1 teaspoon flavourless oil, such as vegetable or sunflower oil (only if using real chocolate, to help it flow for dipping)
- Toppings of choice: sprinkles, flaky sea salt, crushed nuts, or a contrasting chocolate for drizzling
For the chocolate itself, a bar of good-quality dark chocolate baking bars chopped small will melt more evenly than a slab left whole, and it’s worth having on hand as your go-to for this and other dipping projects.
Method
- Line your tray. Have your pretzels and toppings ready and within reach, since chocolate sets fast once pretzels are dipped.
- Melt the chocolate. In the microwave, heat chopped chocolate in 20-second bursts, stirring well between each one, until smooth. On the hob, set a heatproof bowl over gently simmering water, without letting the bowl touch the water, and stir until smooth. Candy melts follow the same method and are more forgiving of a stray splash of heat.
- Loosen if needed. If the chocolate looks thick rather than glossy, stir in the teaspoon of oil. This step usually isn’t needed for candy melts.
- Dip the pretzels. Hold a pretzel by one end and dip it into the chocolate, using a fork to help coat it evenly. Let the excess drip back into the bowl for a second or two.
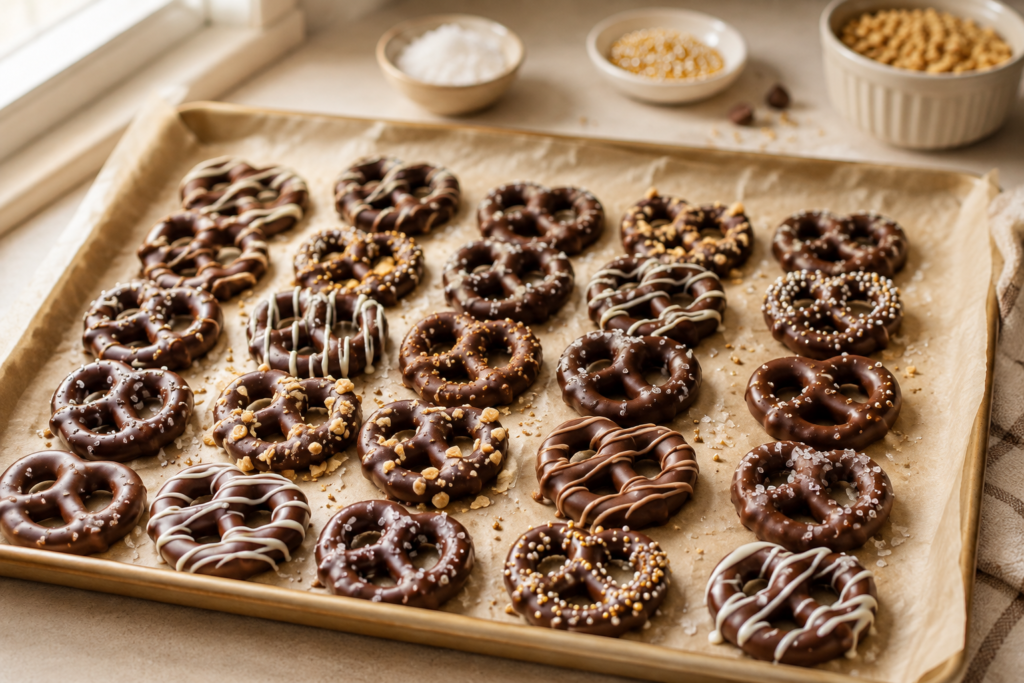
- Add toppings immediately. Place the pretzel on the lined tray and add sprinkles, salt or nuts straight away, while the chocolate is still wet, so they stick properly.
- Repeat and set. Continue with the remaining pretzels, then leave at room temperature for 20-30 minutes, or in the fridge for about 10 minutes, until fully set and firm to the touch.
- Drizzle (optional). Once set, melt a small amount of contrasting chocolate and drizzle it over the pretzels for a finished, bakery-style look.
The chocolate question: candy melts or real chocolate?
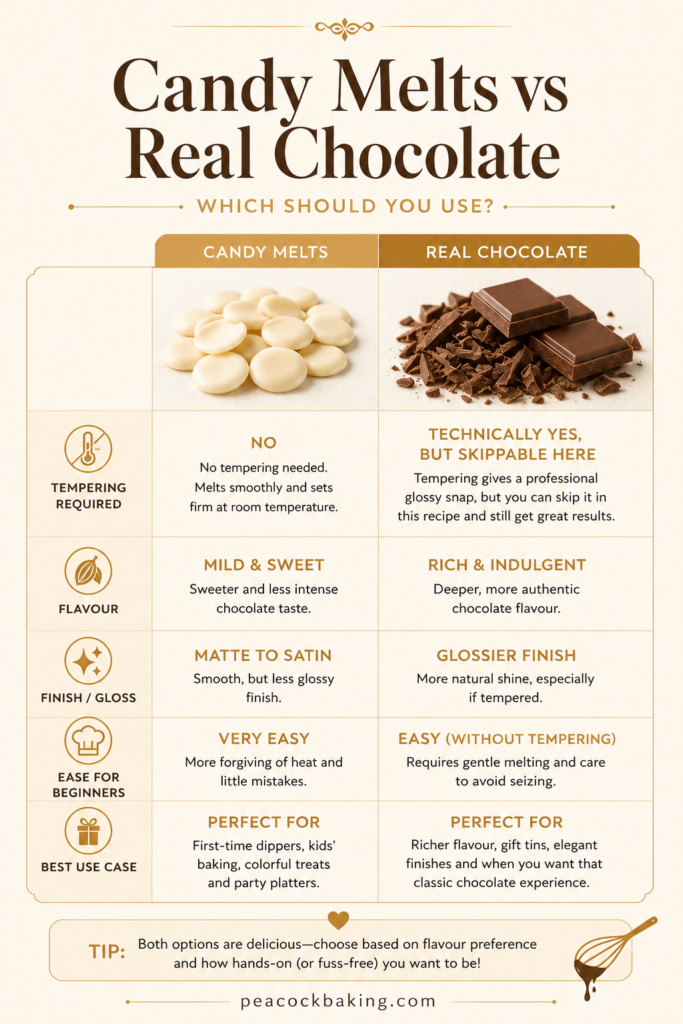
This is where most beginners get stuck before they’ve even started, so let’s clear it up. You have two solid options here, and neither requires tempering.
Candy melts (also called confectionery coating) are made with vegetable fats rather than cocoa butter. That’s why they’re so beginner-friendly: they melt smoothly, set firm at room temperature, and never need tempering. A great starting point if this is your first time dipping anything in chocolate.
Real chocolate gives a richer flavour and a slightly glossier finish, but it behaves differently because of its cocoa butter. Normally, a professional glossy snap from real chocolate means tempering it. For this recipe, we’re skipping that step entirely. The coating still tastes fantastic and sets nicely at room temperature; it just won’t have the same high-gloss, shop-bought sheen as a tempered batch. For more on how different chocolates behave when melted, see our guide to the best chocolate for baking.
Want that professional finish down the line? It’s achievable, just not something this recipe asks of you. Our step-by-step guide to tempering chocolate at home walks through the process when you’re ready.
Getting the melt right
Good melting is the only real technique this recipe hinges on. Chocolate wants gentle, gradual heat and zero contact with water. For the full rundown on microwave and double boiler methods, including timing, see our guide on how to melt chocolate at home.
Toppings and decoration ideas
Once your pretzels are dipped, the topping is where you can make them your own:
- Sprinkles, pressed on while the chocolate is still wet.
- Flaky sea salt, a small pinch per pretzel, which plays beautifully against the sweetness.
- Crushed nuts, such as pistachios or toasted hazelnuts, for texture.
- A contrasting drizzle, white chocolate over dark or vice versa, added once the base coat has set.
- A thin ganache drizzle instead of plain melted chocolate, for something a touch richer.
Troubleshooting common problems
Chocolate has seized (gone thick, grainy or clumpy). This almost always comes down to a drop of water or steam getting into the bowl. Dry every utensil thoroughly before you start, and keep the bowl well clear of any simmering water. If it happens anyway, our guide on how to fix and prevent seized chocolate has the fix.
Pretzels are breaking while dipping. Use sturdier, thicker pretzels rather than thin ones, and dip gently.
Pretzels have gone soggy. This is usually a storage issue. Make sure the chocolate is fully set before you box the pretzels, and always store them in an airtight container.
Storage and shelf life
Once fully set, store your chocolate covered pretzels in an airtight container at cool room temperature, layered between sheets of parchment so they don’t stick together. They’ll keep well for around 1-2 weeks. If your kitchen runs warm, the fridge works too, just let the pretzels come back to room temperature before serving. As with any homemade sweet, treat this as a guide rather than a guarantee, and use your judgement if anything looks or smells off.
Gift and party packaging ideas
Chocolate covered pretzels are one of the easiest homemade gifts around, since they already look impressive.
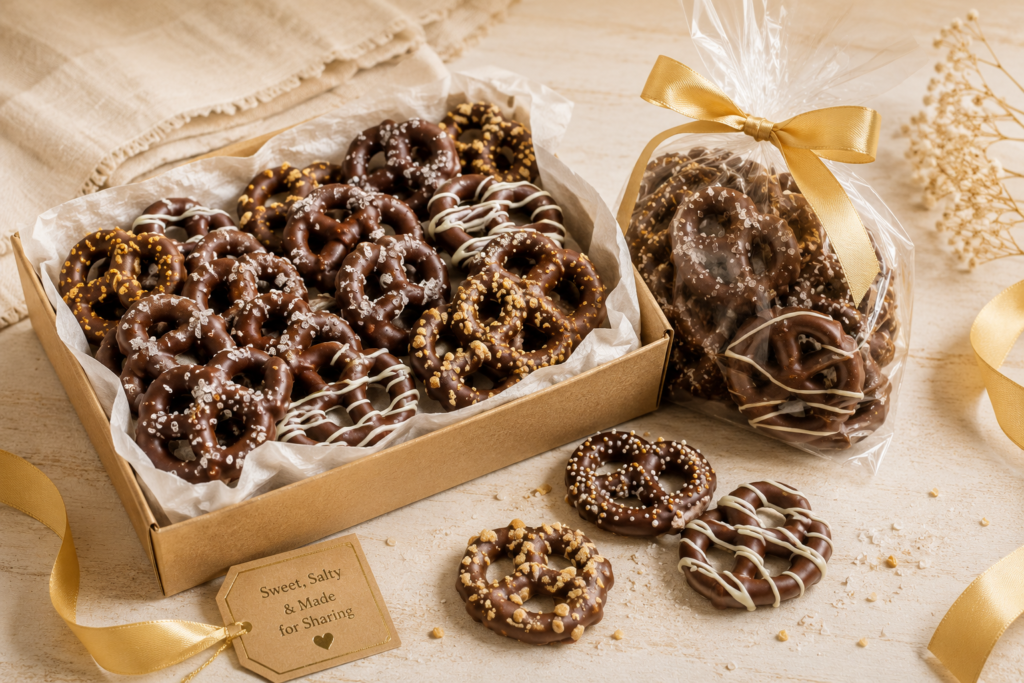
- Cellophane bags tied with ribbon, for teachers, neighbours or party favours.
- Small kraft boxes lined with tissue paper, for a stack of 4-6 pretzels as a thank-you gift.
- Tins for a sturdier option that travels well, especially useful over the festive season.
- A mixed platter for parties, combining a few toppings so guests can see the variety at a glance.
However you package them, let the chocolate set completely first. Boxing warm or tacky pretzels is the most common cause of a sticky, smudged finish.
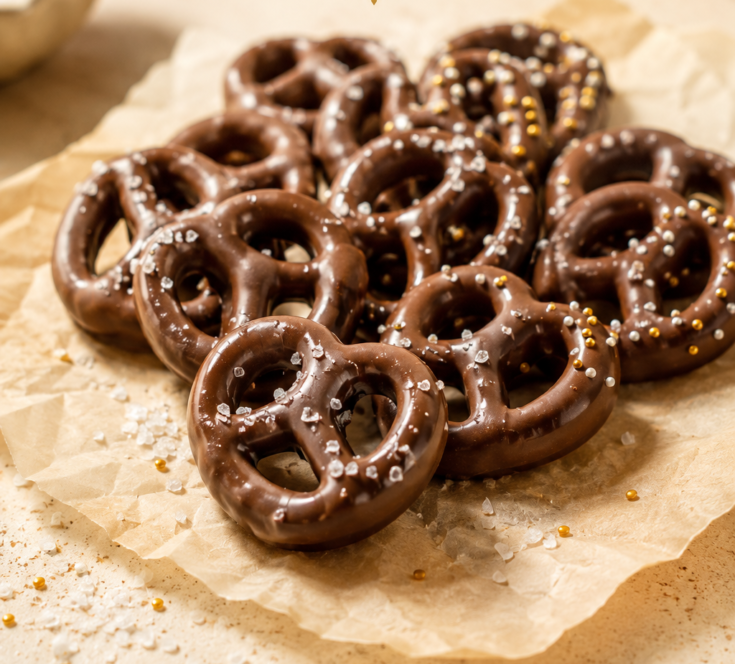
Chocolate Covered Pretzels
Salty, crunchy pretzels dipped in melted chocolate and set glossy, no tempering or oven required. Ready in under an hour, mostly hands-off setting time.
Ingredients
Instructions
- Line your tray and have pretzels and toppings within reach.
- Melt the chocolate: microwave in 20-second bursts, stirring between each, until smooth; or set a heatproof bowl over gently simmering water (not touching it) and stir until smooth.
- If using real chocolate and it looks thick rather than glossy, stir in the teaspoon of oil.
- Dip a pretzel, using a fork to coat evenly, and let excess drip back into the bowl.
- Place on the lined tray and add toppings immediately, while the chocolate is still wet.
- Repeat with remaining pretzels, then leave to set at room temperature for 20-30 minutes, or in the fridge for about 10 minutes.
- Optional: melt a small amount of contrasting chocolate and drizzle over the set pretzels.
Notes
Store in an airtight container at cool room temperature, layered between parchment, for 1-2 weeks.
Fridge works too in a warm kitchen; bring back to room temperature before serving.
Continue Your Journey
If you enjoyed this one, you might like our salted pretzel brownies with dark chocolate for another take on the sweet-and-salty pretzel combination.


