
As an Amazon Associate I earn from qualifying purchases and sometimes recommend products from other sellers at no extra cost to you. For more details see my disclosure policy and privacy policy.
I admit, I’m a bit weird. I wouldn’t sit there and eat a banana, but I love the flavor of it. That’s why something like a banana cream pie is the perfect solution for me – plus there’s cream and who doesn’t love that? Here’s how to make this tasty and easy banana cream pie, from scratch, including a simple pie crust recipe.
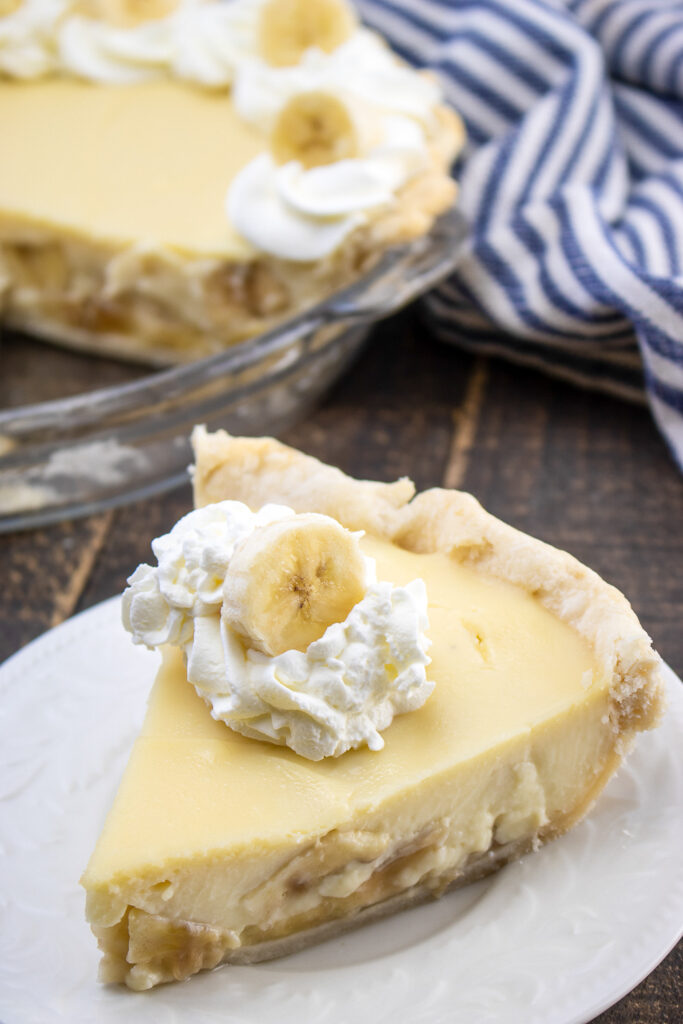
Why you’ll love this recipe
- It’s genuinely made from scratch — and it’s easier than you think. The homemade pie crust comes together quickly, and the custard filling uses simple pantry ingredients. You don’t need instant pudding or a box mix to get incredible results.
- The flavour is miles better than store-bought. Fresh banana slices layered into a real vanilla custard filling, all in a buttery homemade shell — there’s just no comparison to anything you’d pick up from the freezer aisle.
- It’s a showstopper dessert that looks like you spent hours. Topped with whipped cream and served in a beautiful pie dish, this is the kind of dessert that gets people asking for the recipe before they’ve even finished their slice.
- It works for almost any occasion. Whether you’re making it for a casual weeknight treat, a holiday table, or a summer cookout, banana cream pie is always a crowd-pleaser that feels a little bit special.
Equipment You’ll Need
You don’t need a lot of fancy kit to make this pie, but having the right tools does make the process much smoother.
- Pie Dish — A 9-inch pie dish is the standard size for this recipe. Ceramic pie dishes are brilliant for even heat distribution and they go straight from oven to table looking gorgeous. Glass pie dishes are another great option because you can see the crust browning from underneath — no guessing whether the base is cooked through.
- Rolling Pin — You’ll need this to roll your pie crust out to an even thickness. A standard rolling pin works perfectly, or try an adjustable rolling pin with thickness rings if you want a foolproof even crust every time.
- Pie Weights or Dry Beans — These are essential for blind baking the crust before adding the filling. Ceramic pie weights are reusable, easy to clean, and do a great job of stopping the base from puffing up.
- Hand Mixer or Stand Mixer — You’ll use this for whipping the cream for the topping. A hand mixer works perfectly well for this job, or use your stand mixer if you have one — it frees up your hands while the cream whips.
- Pie Server — Once your pie is set and ready to slice, a good pie server makes all the difference for getting those clean, beautiful slices onto the plate without everything collapsing.
Ingredients
Pie Crust Ingredients:
- All-purpose flour: This versatile flour is perfect for making pie crusts due to its balanced gluten content, ensuring a delicate yet sturdy base for your pie. Having extra on hand is useful not only for the dough mixing process but also for dusting your rolling surface to prevent sticking.
- Salt: An essential ingredient in any baking endeavor, salt helps to enhance the natural flavors of the other ingredients, making your crust more flavorful and balanced.
- Vegetable shortening: This fat is preferred for making pie crusts because it ensures a flaky and tender texture. Its high melting point allows the dough to retain its shape as it bakes, resulting in a perfectly formed crust.
- Ice-cold water: Using ice-cold water when making your dough helps to keep the shortening from melting too quickly, which results in a more flaky and tender crust.
Pie Filling Ingredients:
- Whole milk: The high fat content in whole milk makes for a creamier, richer pie filling. Its role in pudding-based fillings, like in this banana cream pie, is often indispensable.
- Heavy cream: This contributes to the richness and creaminess of the pie filling. It’s also perfect for whipping up a fluffy topping if desired.
- Eggs: These act as a binding agent in your pie filling, ensuring a smooth, custard-like consistency.
- Granulated sugar: This sweetens the pie filling and enhances the flavor of the bananas. Its fine texture allows for easy blending with the other ingredients.
- Cornstarch: This is a key ingredient in thickening your pie filling to the right consistency. It ensures your filling is not too runny, holding its shape when the pie is sliced.
- Unflavored gelatin: This helps to set the filling, ensuring it retains its shape once cooled. It’s unflavored so it won’t interfere with the flavors of the other ingredients.
- Unsalted butter: This adds a rich, creamy flavor to the pie filling. Using unsalted butter allows you to control the amount of salt in your pie.
- Real vanilla extract: This gives your pie filling a subtle depth of flavor. Its sweet, aromatic qualities pair perfectly with the cream and banana flavors.
- Ripe bananas: These are the star of the pie. Ripe bananas provide the most flavor and natural sweetness. They should be ripe but not overly mushy.
Grab the full ingredients details and instructions in the recipe card below!
Substitutions and Additions
Substitutions:
- All-purpose flour: Whole wheat flour can be a healthier alternative if you don’t mind a denser crust.
- Vegetable shortening: Unsalted butter can be used instead for a richer flavor, but keep in mind it may alter the texture of your crust slightly.
- Whole milk: If you’re trying to cut fat, you can use 2% milk instead. Almond milk or coconut milk can also be used for a dairy-free option.
- Granulated sugar: If you prefer a healthier alternative, coconut sugar or stevia can be used. Note that these may give a slightly different flavor.
- Unsalted butter: If you only have salted butter on hand, feel free to use it, but reduce the added salt by half.
Additions to Try
- Chocolate Banana Cream Pie Variation — For a chocolate twist, add 2–3 tablespoons of cocoa powder to your custard filling while it’s cooking, or melt 60g (2oz) of dark chocolate into the warm custard before it sets. You can also drizzle melted chocolate over the top of the finished pie for a beautiful finish. Check out the chocolate mousse recipe for inspiration on working with chocolate in creamy desserts.
- Different Pudding Flavors (if using instant pudding) — If you decide to use instant pudding as a shortcut for the filling (totally valid on a busy day), vanilla is the classic choice, but butterscotch pudding works beautifully with banana — the caramel notes are lovely. Chocolate pudding turns it into more of a chocolate banana cream pie without any extra steps.
- Toasted Coconut Topping — Sprinkle toasted coconut flakes over the whipped cream topping just before serving. It adds a subtle crunch and a tropical flavour that pairs really nicely with the banana.
- Salted Caramel Drizzle — A drizzle of salted caramel sauce over the top adds a gorgeous contrast of sweet and salty. You can use a store-bought caramel sauce or make a simple homemade version.
- Extra Banana Layer — For an even more pronounced banana flavour, add an extra layer of sliced bananas between the custard and the whipped cream topping. Just be aware that the top layer will start to brown faster, so serve on the day you assemble.
Instructions
Put the oven’s top rack in the middle and set the oven to 400°F.
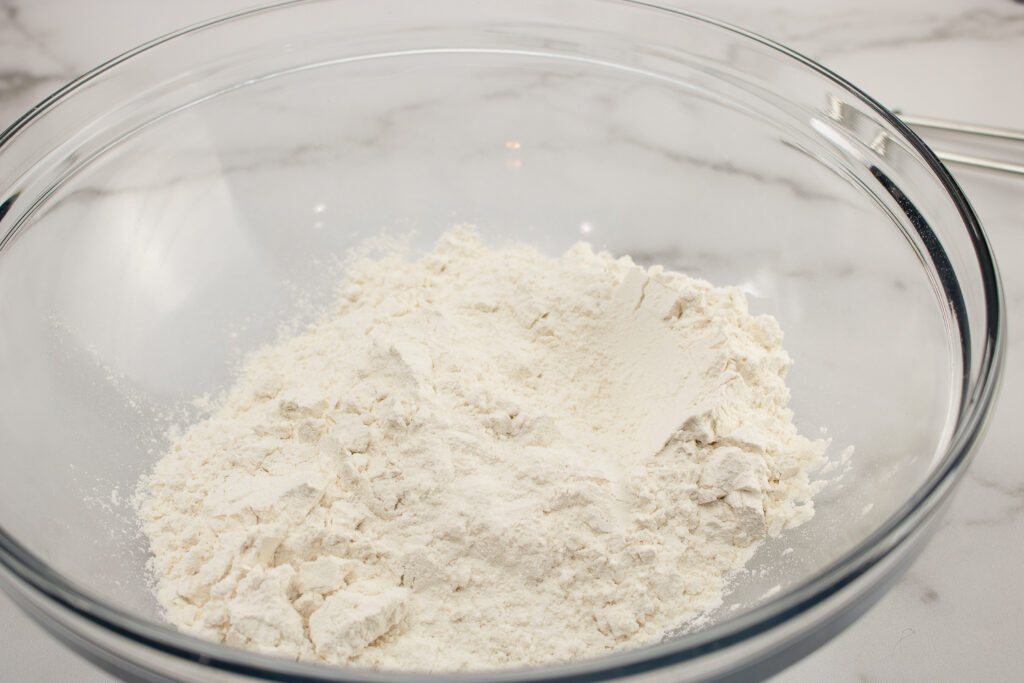
Make the pie crust with a food processor or mixer. Mix flour, salt, and shortening in a bowl.
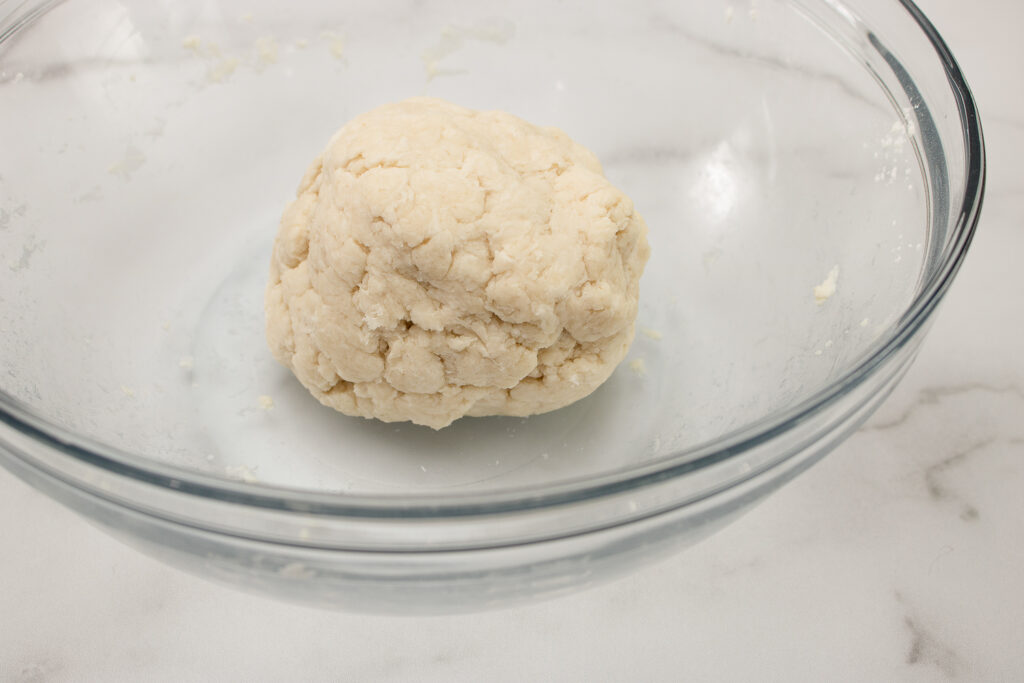
Slowly add cold water until the dough can form a ball.
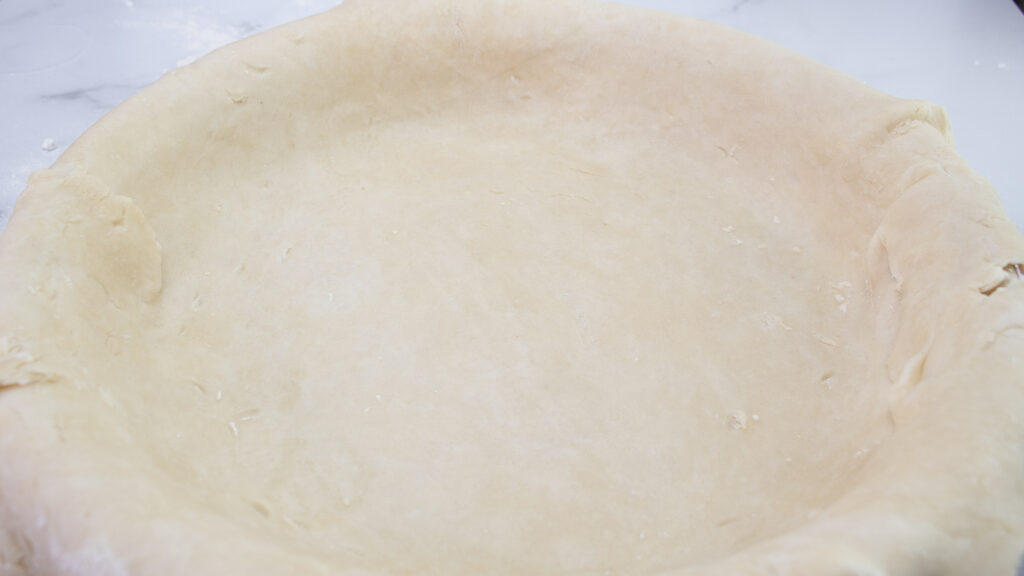
Roll out the dough with a rolling pin to 12 inches wide on a surface with a bit of flour. Fold the dough two times and put it in a 9-inch pie plate. Push the dough into the plate to create the pie shell. Cut off any excess dough more than ½ inch over the edge. Fold the edge of the dough and press it with your thumb or a fork.
Put parchment paper on the pie crust and fill with pie weights or dry beans. Cook the crust in the oven for 15 minutes.
Take out the crust and remove the weights. Keep the crust aside. Lower the oven temperature to 350°F.
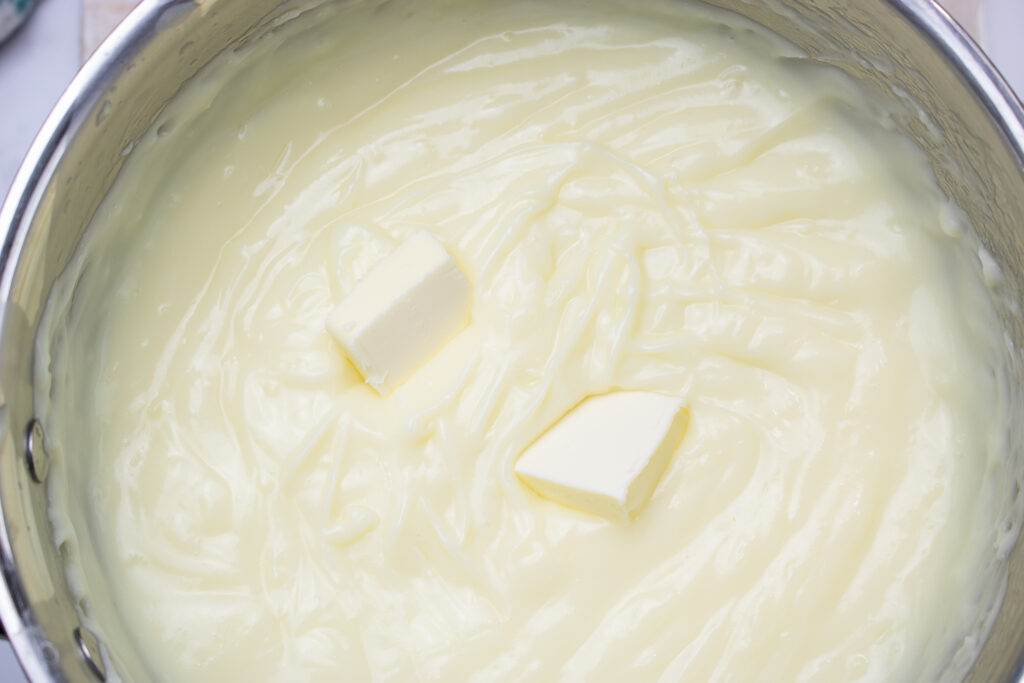
Mix together milk, cream, eggs, sugar, salt, corn starch, and gelatin in a large saucepan, stir until it’s well mixed. Heat it on medium-low heat and keep stirring. Turn off the heat once it thickens and becomes hard to stir, then add butter and vanilla.
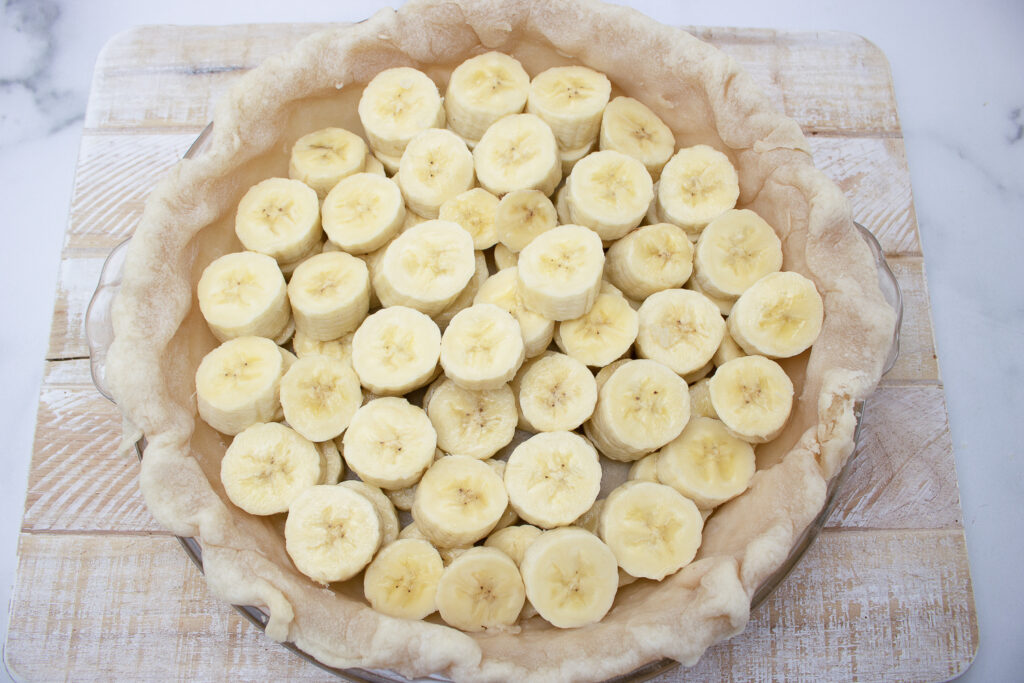
Cut the bananas and put two layers of banana slices at the bottom of the pie crust.
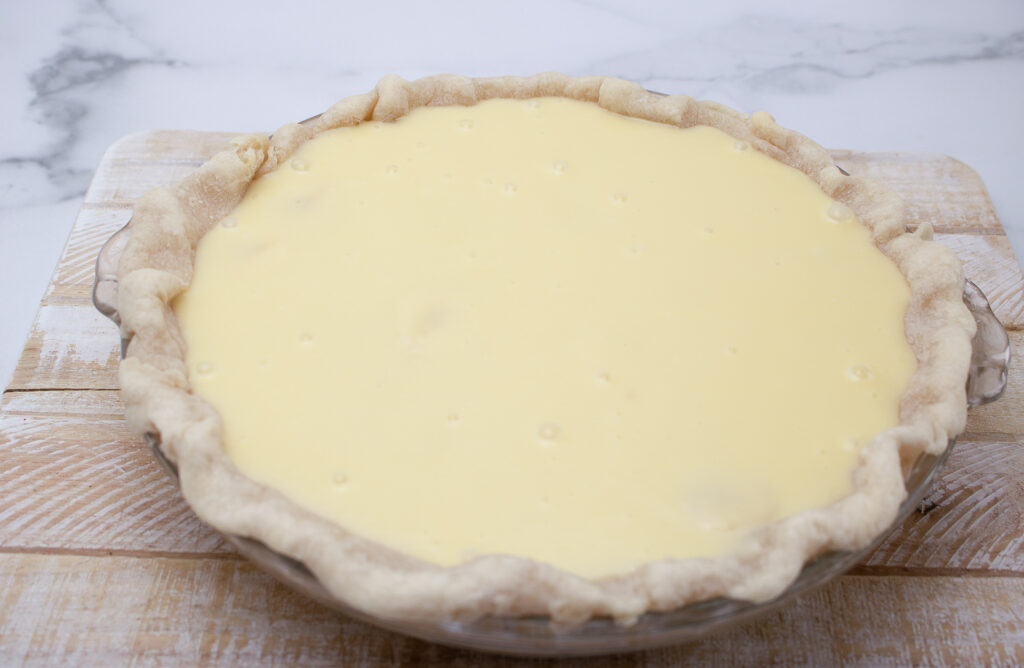
Pour the custard on the bananas and smooth it out.
Bake in the 350°F oven for 20-25 minutes.
Remove the pie from the oven and let it cool. Once it’s completely cool to room temperature, put it in the fridge.
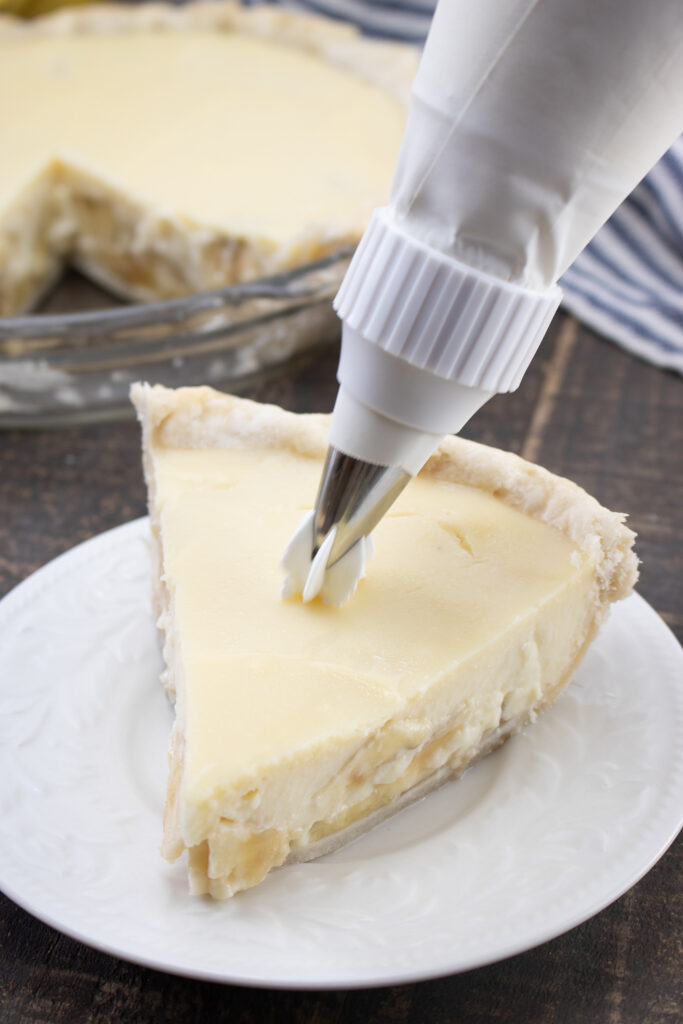
Let it chill for a few hours or overnight before you serve it with some fresh whipped cream spread over a little bit of the top of the pie.
Recipe tips
- Chilling the Pie: To ensure the pie sets properly, it’s important to allow it sufficient time to chill in the refrigerator. Attempting to slice the pie before it has fully set may result in a runny filling.
- Choosing Bananas: When selecting bananas for your pie, opt for ones that are ripe but still firm. Overly ripe bananas may turn mushy when baked, altering the texture of your pie. Ripe fruit will stay in shape as sliced bananas so your pie recipes look as good as they taste.
- Flouring the Surface: Ensure to dust your work surface with a generous amount of flour before rolling out your pie dough. This will prevent the dough from sticking and make it easier to transfer to your pie dish.
- Pie Crust Edges: If you find that the edges of your pie crust are browning too quickly in the oven, you can cover them with foil to prevent further browning.
Storage & Reheating
Storing in the fridge: This pie keeps well in the fridge for up to 3 days. Cover it loosely with plastic wrap or store it in an airtight pie container. If you’ve already added the whipped cream topping, it will soften slightly over time but it still tastes delicious. For the best presentation, consider adding the whipped cream topping fresh on the day you plan to serve it.
Can you freeze banana cream pie? Technically yes, but it’s not ideal. The custard filling can become grainy and watery when thawed, and the banana slices will go mushy. If you do want to freeze it, freeze the pie without the whipped cream topping and the banana layers, then add both fresh after thawing. Thaw overnight in the fridge rather than at room temperature.
Reheating: Banana cream pie is a cold dessert and isn’t meant to be reheated. If it’s been in the fridge, simply take it out 10–15 minutes before serving to take the chill off — the filling will be creamier and the flavours will come through better at a slightly less icy temperature.
Make ahead tips: The pie crust can be blind baked up to 2 days ahead and stored at room temperature wrapped in cling film. The custard filling can be made a day in advance and stored in the fridge (covered with plastic wrap pressed directly onto the surface to prevent a skin forming), then assembled with the bananas and topping the next day.
Serving Suggestions
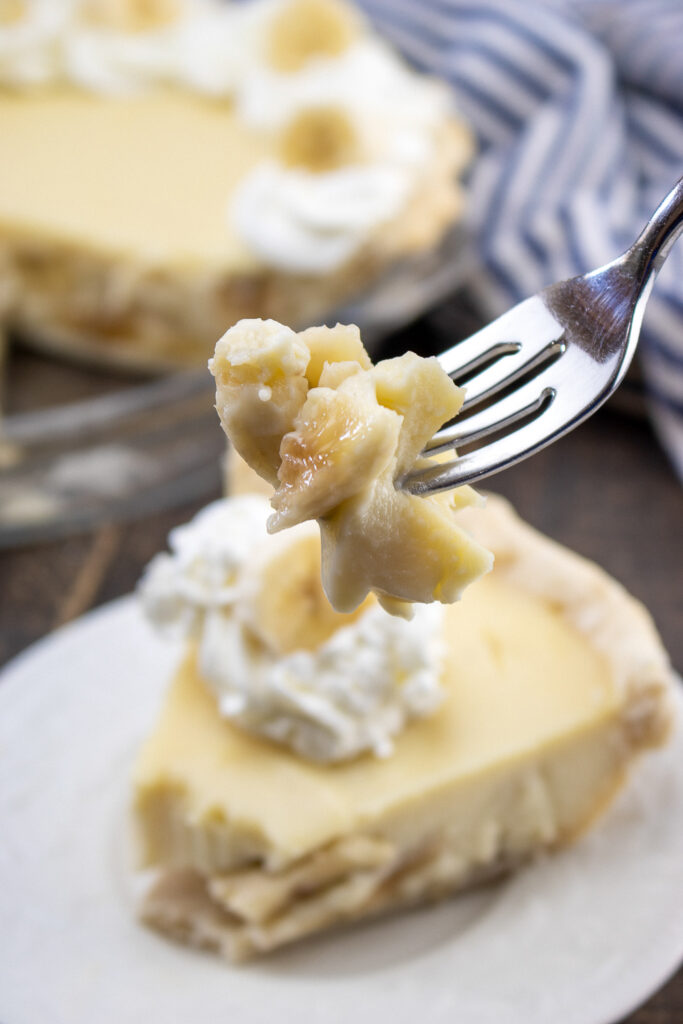
Banana cream pie is best served cold, straight from the fridge. It makes a wonderful dessert after a roast dinner, particularly in the warmer months when you want something cool and light-feeling after a hearty meal. It’s also a brilliant choice for potlucks and family gatherings because you can make it the day before and it only gets better as the flavours settle overnight.
For a classic presentation, add the whipped cream topping just before serving and finish with a few extra banana slices. If you want to keep things simple but impressive, a little grating of dark chocolate or a sprinkle of crushed digestive biscuits over the cream adds a nice finishing touch.
If you’re making this for a summer cookout, pair it with something fruity and fresh alongside — the lemon strawberry shortcake or the peaches and cream crumble bars would make wonderful companions on a dessert table.
For smaller gatherings or if you want individual servings, consider making it in ramekins instead of a full pie dish — the same filling works beautifully as a banana cream pudding cup, served with a small crumbled biscuit base.
Recipe FAQ
Absolutely — a pre-made refrigerated or frozen pie crust works fine and cuts the prep time right down. The from-scratch homemade crust does give you a better flavour and texture, but on a busy day there’s no shame in using a shortcut. Just follow the blind baking instructions on the package before adding your filling.
Lumpy custard usually happens when the egg mixture gets too hot too quickly, causing the eggs to scramble, or when the cornstarch wasn’t fully mixed in before heating. To prevent this, make sure you whisk the cornstarch into the cold milk mixture thoroughly before it goes on the heat, and cook on a medium-low flame, stirring constantly. If you do end up with lumps, pour the custard through a fine mesh strainer before chilling — it’ll smooth right out.
Toss the banana slices lightly in a little lemon juice before layering them into the pie. The acid slows down the oxidation process and keeps them looking fresh for much longer. Don’t go overboard though — too much lemon will affect the flavour of the filling.
Yes, you can leave out the gelatin — the cornstarch alone will thicken the custard. The filling will be slightly softer and less firmly set, but it will still taste wonderful. Just make sure the custard cooks long enough to fully activate the cornstarch, and allow plenty of chilling time before slicing.
This pie is best made the day before you want to serve it, as the filling needs several hours to fully set in the fridge. You can make it up to 24 hours in advance — the flavours actually improve overnight. Add the whipped cream topping and any fresh banana garnish on the day of serving for the best results.
Easy Banana Cream Pie
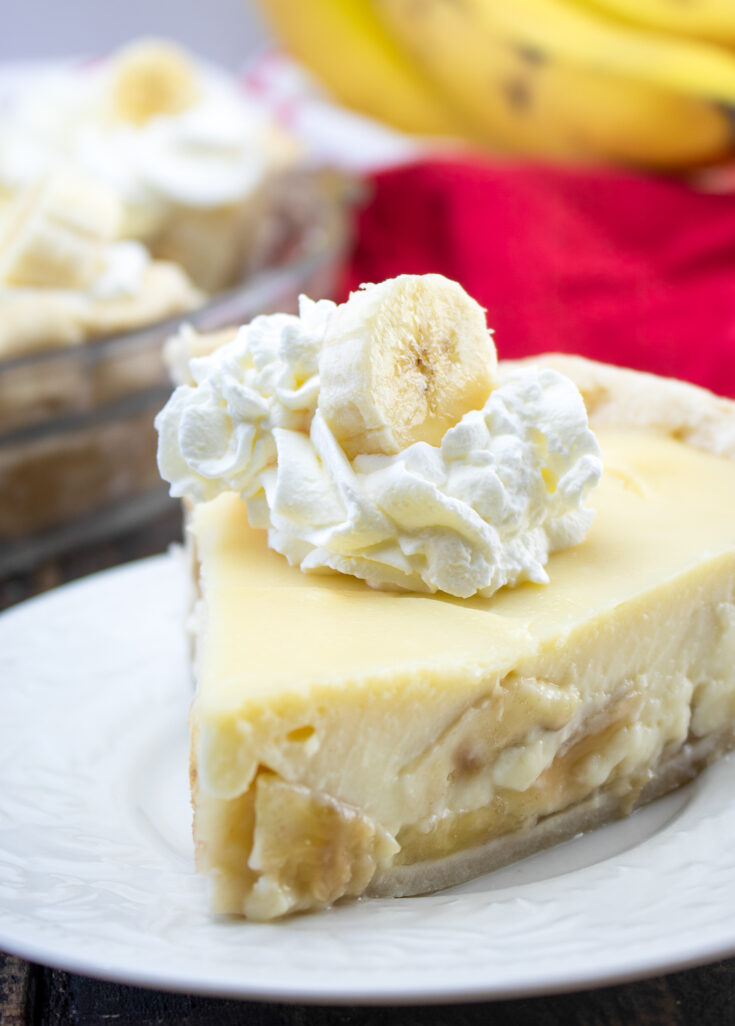
Make this delicious banana cream pie from scratch including a simple pie crust with this easy recipe
Ingredients
Pie Crust Ingredients:
- 1½ c. all-purpose flour, plus extra for rolling
- ½ t. salt
- 2/3 c. vegetable shortening
- 3-6 T. ice-cold water
Pie Filling Ingredients:
- 2 c. whole milk
- 1 c. heavy cream
- 2 large eggs
- ¾ c. granulated sugar
- ¼ t. salt
- ¼ c. cornstarch
- 1 oz. package unflavored gelatin
- 2 T. unsalted butter
- 2 t. real vanilla extract
- 4-6 ripe bananas, sliced
Instructions
- Place top oven rack in the center position and pre-heat oven to 400°F.
- Use a stand or hand-held mixer to prepare the pie crust. Add the flour, salt, and shortening in a medium-size bowl and mix to combine.
- Add the ice-cold water a little at a time, until the dough clumps together and can form a ball.
- On a lightly floured surface, roll out the dough into a 12-inch diameter. Fold the dough in half and then in half again and transfer to a 9-inch diameter deep-dish pie plate. Press the dough down into the pie pan. Trim if there is more than ½ inch of excess dough hanging over the edges. Fold the edges of the dough under, and then crimp together with your thumb or a fork.
- Line the pie crust with parchment paper and fill it with pie weights or dry beans. Blind bake (aka “pre-bake”) the crust in the pre-heated oven for 15 minutes.
- Remove the crust from the oven and remove the dry beans or pie weights. Set aside. Reduce oven temperature to 350°F.
- To make the filling, combine the milk, cream, eggs, sugar, salt, corn starch, and gelatin in a large saucepan. Stir until well blended and heat over medium-low heat while whisking often. When the custard has thickened and becomes difficult to stir, turn the heat off and stir in the butter and vanilla. Set aside.
- Slice the bananas and line the bottom of the pie crust with two layers of sliced bananas. Pour the custard over the bananas and smooth the custard out throughout the pie.
- Place in the 350°F oven and bake for 20-25 minutes.
- When the baking time finishes, remove pie from oven and cool completely before transferring to the refrigerator. Chill for a few hours or overnight before serving.
- To serve, top with whipped cream and additional banana slices, if desired. Enjoy!
Notes
- Chilling the Pie: To ensure the pie sets properly, it's important to allow it sufficient time to chill in the refrigerator. Attempting to slice the pie before it has fully set may result in a runny filling.
- Choosing Bananas: When selecting bananas for your pie, opt for ones that are ripe but still firm. Overly ripe bananas may turn mushy when baked, altering the texture of your pie.
- Flouring the Surface: Ensure to dust your work surface with a generous amount of flour before rolling out your pie dough. This will prevent the dough from sticking and make it easier to transfer to your pie dish.
- Pie Crust Edges: If you find that the edges of your pie crust are browning too quickly in the oven, you can cover them with foil to prevent further browning.
Nutrition Information:
Yield:
8Serving Size:
1Amount Per Serving: Calories: 603Total Fat: 35gSaturated Fat: 17gTrans Fat: 0gUnsaturated Fat: 15gCholesterol: 104mgSodium: 282mgCarbohydrates: 65gFiber: 3gSugar: 34gProtein: 11g


