As an Amazon Associate I earn from qualifying purchases and sometimes recommend products from other sellers at no extra cost to you. For more details see my disclosure policy and privacy policy.
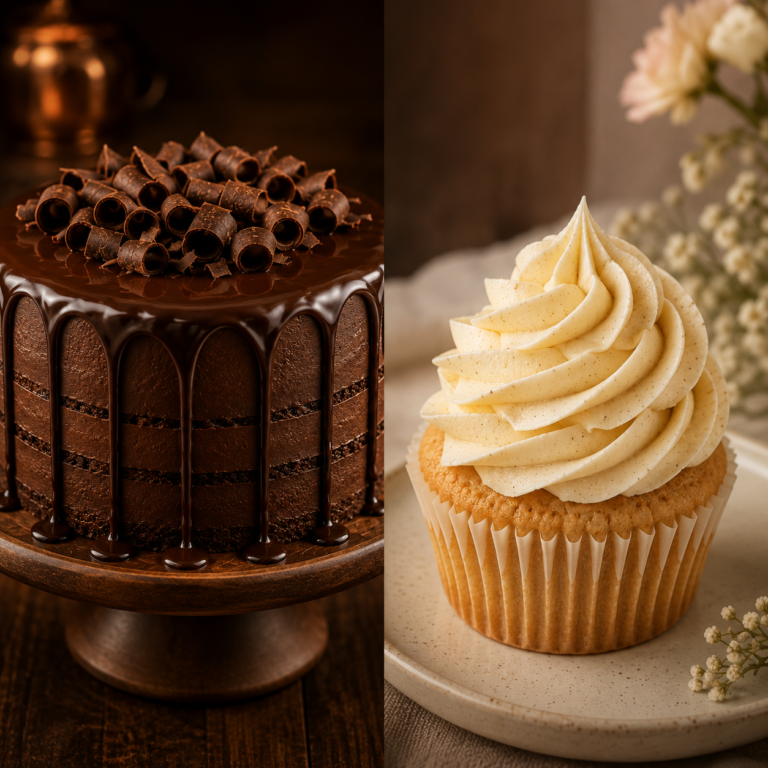
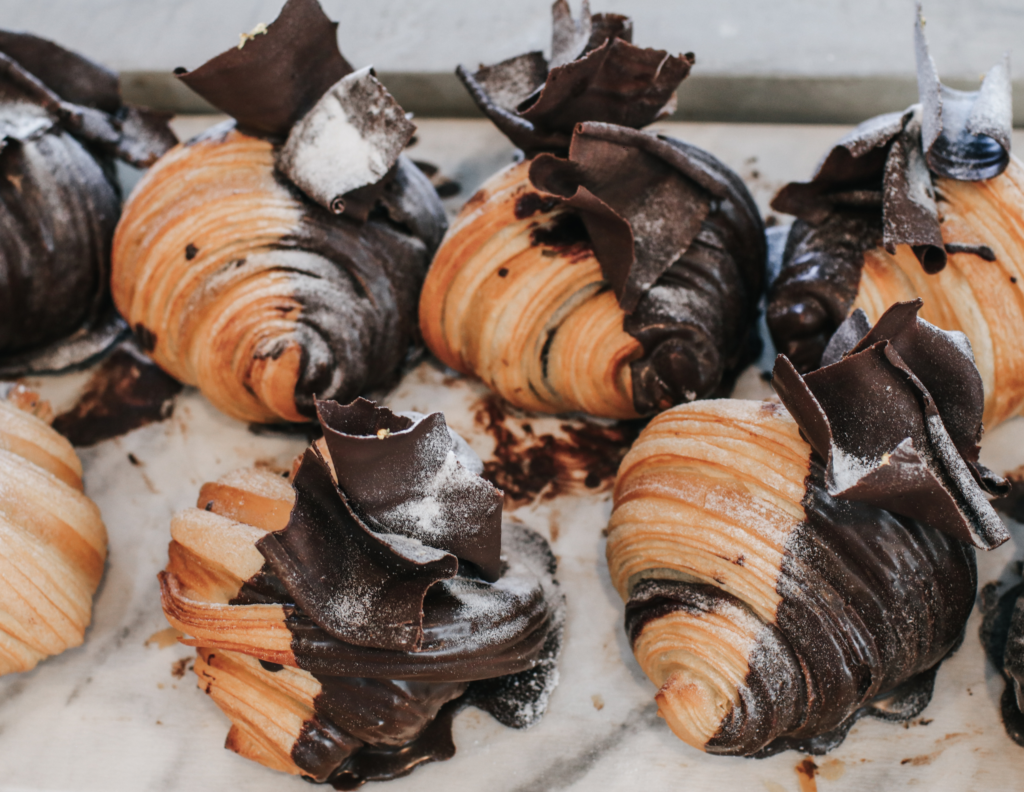
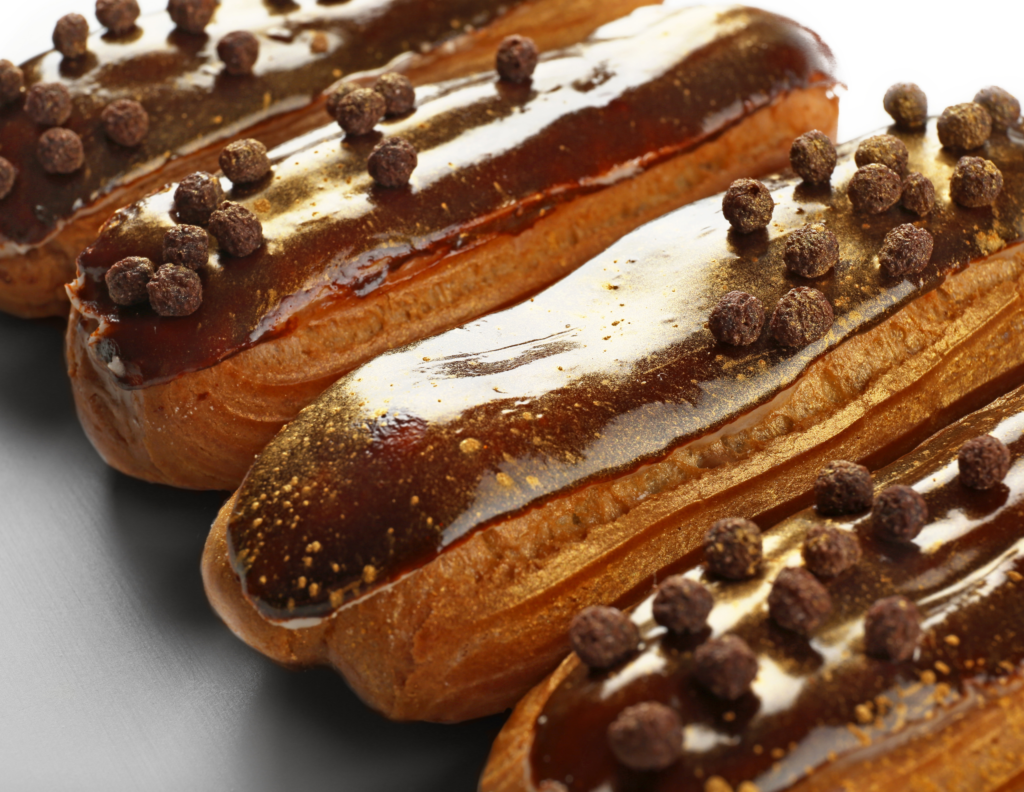
There’s something magical about the combination of flaky pastry and rich chocolate. Whether it’s a perfectly laminated chocolate croissant or a decadent chocolate tart, chocolate pastries hold a special place in both home and professional bakeries. This guide will walk you through everything you need to know to create stunning chocolate pastries in your own kitchen.

Understanding Chocolate for Pastry
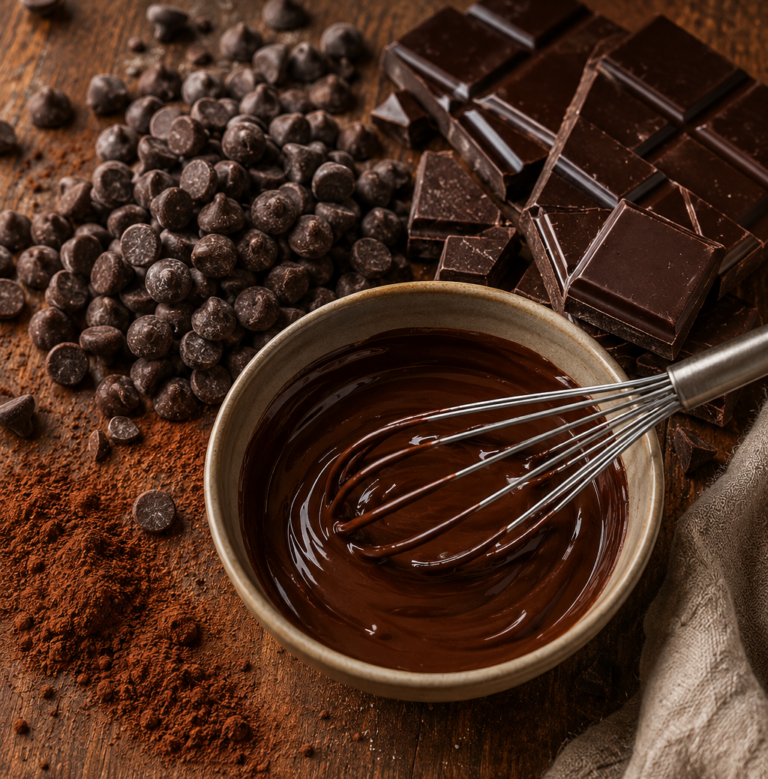
Choosing the right chocolate is crucial for successful pastry making. While you might be tempted to grab any chocolate bar from your pantry, the type and quality of chocolate you use will significantly impact your final results. For a deep dive into different varieties, check out our guide to Types of Chocolate: From Milk to Dark & Everything Between.
For pastry work, you’ll want to focus on chocolate with a cocoa butter content between 32-39%. This range gives you optimal workability while maintaining excellent flavor. Here’s what different chocolates bring to your pastries:
Dark Chocolate (60-70% cocoa solids): Perfect for intense chocolate flavor in ganaches and mousses. The lower sugar content gives you better control over the sweetness of your pastries. Choose this for sophisticated, adult-oriented desserts.
Milk Chocolate (30-45% cocoa solids): Ideal for more delicate applications and family-friendly pastries. Its creamy texture works beautifully in mousses and creams. Remember that milk chocolate is more sensitive to heat than dark chocolate.
White Chocolate: Despite not containing cocoa solids, white chocolate’s cocoa butter content makes it valuable for pastry work. It creates beautiful, creamy fillings and can be colored for decorative work.
Couverture Chocolate: This professional-grade chocolate contains a higher percentage of cocoa butter (32-39%) than regular chocolate. It melts more smoothly and sets with a beautiful shine, making it ideal for coating and decorative work.
Essential Techniques
Tempering Chocolate
Tempering is the process of carefully controlling chocolate’s temperature to ensure it sets with a beautiful shine and satisfying snap. While it might seem intimidating, understanding the process makes it manageable.
The basic tempering process involves:
- Melting the chocolate completely (45-50°C/113-122°F for dark chocolate)
- Cooling it to form stable crystals (27-28°C/80-82°F)
- Warming it slightly for working temperature (31-32°C/88-90°F)
For detailed instructions on melting and working with chocolate, visit our guide on Secrets to Perfectly Melt Chocolate at Home.
Making Chocolate Pastry Dough
The key to excellent chocolate pastry lies in understanding how cocoa powder affects dough structure. Adding cocoa powder to pastry dough isn’t as simple as swapping out some flour – it requires careful adjustments to maintain the right texture.
Basic Chocolate Pâte Sucrée: This sweet pastry dough forms the base of many chocolate tarts and petit fours. The secret lies in keeping everything cool and working quickly. Replace 30-40g of flour with cocoa powder in your standard recipe, and you might need to add a touch more liquid as cocoa powder absorbs more moisture than flour.
Chocolate Puff Pastry: Creating chocolate puff pastry requires careful consideration of the lamination process. You can either:
- Add cocoa powder to the détrempe (initial dough)
- Layer cocoa powder with the butter block
- Use a combination of both methods

Each approach creates different visual and taste effects in your final pastry. For impressive results, try our Cherry & Chocolate Puff Pastry Tart.
Chocolate Fillings
The world of chocolate fillings opens up endless possibilities for your pastries. Understanding ratios and temperatures is key to success.
Classic Chocolate Ganache: The basic ratio for ganache varies depending on your intended use:
- 1:1 (chocolate:cream) for truffles and firm fillings
- 1:2 for soft, creamy fillings
- 2:1 for glazes and coating
Chocolate Pastry Cream: When making chocolate pastry cream, add the chocolate while the custard is hot (65-70°C/149-158°F) to ensure smooth incorporation. Dark chocolate works best, as milk chocolate can make the cream too sweet.
Chocolate Mousse: The key to perfect chocolate mousse lies in temperature control. Your base chocolate mixture should be around 45°C/113°F when folding in whipped cream, which should be around 20°C/68°F. This prevents the chocolate from seizing while maintaining the mousse’s light texture.
Working with Different Climates
Temperature and humidity significantly affect chocolate work. Here’s how to adapt:
Warm Climates:
- Use slightly less butter in pastry doughs
- Chill tools and ingredients
- Reduce liquid slightly in ganaches
- Work early morning or late evening
- Consider using a dehumidifier
Cool Climates:
- Allow ingredients to reach room temperature
- Increase liquid slightly in ganaches
- Watch for condensation when moving pastries between temperatures
- Keep rooms draft-free when working with chocolate
Common Problems & Solutions
Understanding potential issues helps you avoid them:
Chocolate Seizing:
- Cause: Water contamination or overheating
- Solution: For seized chocolate from water, add more warm cream and use as ganache
- Prevention: Ensure all tools are completely dry, melt chocolate gently
Blooming:
- Cause: Poor tempering or temperature fluctuations
- Solution: Re-temper the chocolate
- Prevention: Proper tempering and storage conditions
Ganache Breaking:
- Cause: Adding cold cream to chocolate or mixing too vigorously
- Solution: Warm gently while whisking, or blend with an immersion blender
- Prevention: Ensure cream and chocolate are at appropriate temperatures
Equipment & Tools
Having the right tools makes chocolate pastry work much easier and more successful. Here’s what you need:
Essential Equipment: A good thermometer is your most important tool for chocolate work. Digital probe thermometers offer quick, accurate readings essential for tempering and ganache making. A marble slab, while traditional, isn’t necessary – a clean countertop or large baking sheet works well for tempering.
For pastry work, you’ll need:
- Metal bench scraper for chocolate work and dough handling
- Plastic scraper for cleaning bowls
- Various piping bags and tips
- Good quality baking sheets
- Heavy-bottom saucepans for melting
- Silicone mats or parchment paper
Optional but helpful equipment includes:
- Chocolate molds for decorative work
- Transfer sheets for patterns
- Guitar cutter for precise cuts
- Heat gun for finishing touches
Storage & Presentation
Proper storage ensures your chocolate pastries maintain their quality. Store filled chocolates and pastries between 16-18°C/61-64°F. Most chocolate pastries keep well at room temperature for 1-2 days if properly stored.
For longer storage:
- Keep unfilled pastries in an airtight container for up to a week
- Freeze unbaked chocolate pastry dough for up to 3 months
- Store tempered chocolate decorations in a cool, dry place
- Keep ganaches refrigerated for up to two weeks
When presenting chocolate pastries, consider:
- Temperature – serve at room temperature for best flavor
- Plating – use contrasting colors to highlight chocolate elements
- Garnishes – fresh berries, mint, or gold leaf complement chocolate beautifully
- Timing – chocolate pastries are best enjoyed fresh
Tips for Success
After years of working with chocolate pastry, here are my top tips:
Always mise en place. Having everything measured and ready before you start is crucial with chocolate work. Once chocolate starts cooling, you need to work quickly.
Trust your thermometer but learn to recognize visual cues. Properly tempered chocolate should:
- Look glossy
- Feel smooth
- Start to thicken slightly
- Begin setting around the edges of your bowl
Start with room temperature ingredients unless specified otherwise. Cold ingredients can shock chocolate and cause it to seize.
Don’t rush the process. Chocolate work requires patience and attention to detail. It’s better to take your time and get it right than to hurry and have to start over.

Remember that practice makes perfect. Every chocolatier started somewhere, and each attempt teaches you something new about working with this wonderful ingredient.
Final Thoughts
Creating chocolate pastries combines science and artistry. While it requires attention to detail and practice, the results are worth the effort. Start with simpler recipes and work your way up to more complex creations as you gain confidence.
Remember that even professional pastry chefs sometimes have things go wrong – it’s part of the learning process. Keep practicing, take notes on what works (and what doesn’t), and most importantly, enjoy the journey of creating beautiful chocolate pastries.
Whether you’re making a simple chocolate croissant or an elaborate entremet, the principles remain the same. Focus on quality ingredients, proper technique, and temperature control, and you’ll be creating stunning chocolate pastries in no time.